Crystals are amazing healers and protectors. They can be used for many different purposes, such as improving your energy, attracting positive vibes, and more. However, in order to get the most out of your crystals, it is important that you cleanse them of negative energy and recharge them regularly. In this blog post, we will discuss how to cleanse and charge crystals. Stay tuned!
Why Do I Need to Cleanse and Charge My Crystals
Have you ever had a sense of relief after taking a shower? For crystals, cleansing is intended to provide just that; release the negative energy from them and leave only good vibes behind.
If you feel like your crystals are not working as well as they used to, it could be because they have accumulated too much negative energy. When you first receive a new crystal, it’s a good idea to cleanse it before using it to remove any lingering negativity from the people who touched it.
There are many ways to cleanse your crystals, but some of the most common include using sage smoke, water, or sunlight. By taking the time to cleanse your crystals regularly, you can ensure that they remain powerful tools for promoting positive energy and healing.
Cleansing and charging your crystals is an easy way to show gratitude and respect for the work they do. Even if you don’t use some of your crystals on a regular basis, you still should cleanse them from time to time, they will appreciate that. The most important thing is to choose one method that feels right for you.
1. Crystal Cleansing With Water
Cleansing With Water at Home
One of the most common and effective methods is to use water. Water is a powerful purifier that can help to remove negative energy from your crystals. When cleansing crystals under a faucet, you can use cool or lukewarm water. Hold your crystal under the water, using your intention to cleanse away any negativity. Even better than tap water is distilled water. Do this for at least 10 seconds or until you feel the crystal has been cleansed.
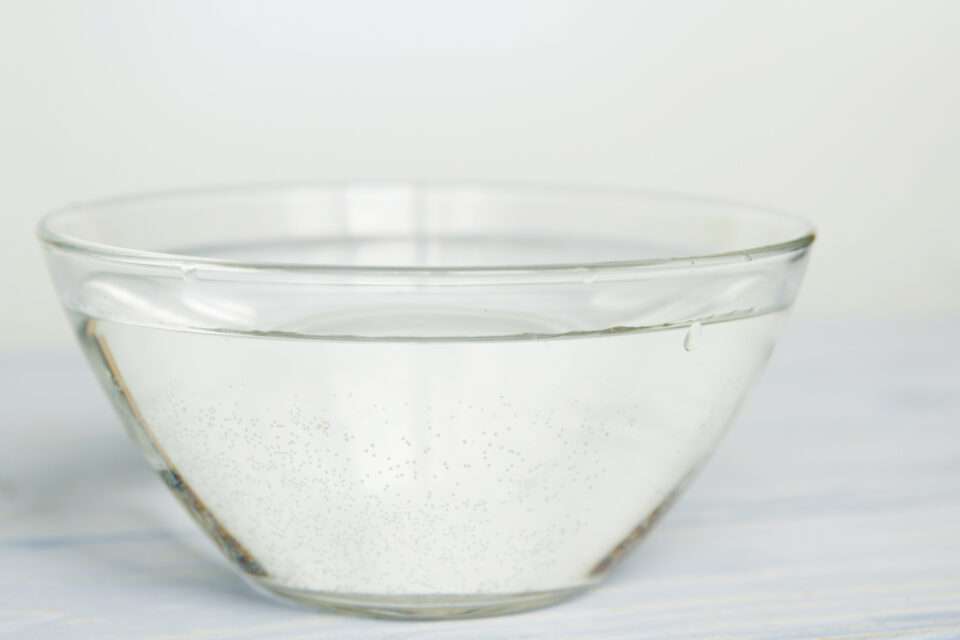
Another way to purify your crystals is by simply placing them in a bowl of water. This is also an effective method, but some softer crystals may be damaged by this approach.
Other Cleansing Methods With Water
You can also leave your crystal outside, in a safe place while it is raining. The falling water will cleanse the stone and carry away the old energies back into the earth to be recycled. Crystals can also be soaked in a clean bowl of rainwater. Some people chose not to use this method if they live in highly populated or heavy-traffic areas. This is due to the increased pollution that may be in the water.
Another cleansing method requires that you live near a body of water. Just put your crystal for cleansing in the water. Moving water, such as a river is even better. It will help to clear away any stagnant energy faster, leaving your crystals refreshed and invigorated. Just ensure that you put them in a pouch so that they don’t get swept away by the current. Same as with the rain cleansing method, you have to be sure that the water is clean before putting any crystals in it. If you live in one of those towns where factories pour their waste into the rivers and lakes, then don’t put crystals in the water.
Like with all cleansing methods where you have to use water, I wouldn’t ever recommend air drying your crystals. This is because when you air dry your crystals there always remains a thin layer of lime that only grows bigger every time you air dry your stones. The lime can cause damage over time if it gets in the cracks. Once your crystal is cleansed, always make sure to dry it off completely with a towel before putting it away. This prevents any residual moisture from damaging it.
Note:
Some stones can be damaged by water. Here is a list of some known stones that can be toxic or get damaged by water from short or long-term exposure:
Amazonite, Angelite, Apatite, Azurite, Black Tourmaline, Calcite, Celestite, Cinnabar, Desert Rose, Fluorite, Gypsum, Halite, Hematite, Jade, Jet, Kunzite, Kyanite, Labradorite, Lapis Lazuli, Lepidolite, Magnetite, Malachite, Moonstone, Opal, Pyrite, Selenite, Talc, Turquoise, Ulexite.
As a rule of thumb, all crystals that end with -ite shouldn’t have contact with water. Some of these stones can be damaged over time when soaked in water, while others can rust because of the iron oxide content.
Selenite, Talc, Gypsum, and Halite must be kept away completely from water. These are one of the softest Crystals and will dissolve in water.
If you choose to apply one of the methods that include water, it is better to use distilled or spring water if possible, as tap water can contain chemicals that may damage the crystal.
Do your own research before cleansing crystals with water, if you are unsure. For the stones that can’t go in water, you can use one of the other methods below.
2. Crystal Cleansing with Sunlight
This method requires you to simply put your crystals in sunlight. Sunlight is known to have purifying properties, so it makes sense that this would be an effective way to cleanse crystals. Let your crystal for at least a few minutes up to a few hours in the sunlight. The best time to put crystals in the sun for cleansing is during the early morning hours or the evening hours when the UV rays are not as strong. The reason for this is because UV rays are stronger in the afternoon, which can cause crystals to become dull and discolored.
Using the sun to cleanse your crystals is a very effective method, but you must be aware that not all crystals are safe to put in sunlight. Most Quartz crystals shouldn’t be in sunlight. Many will fade when exposed to sunlight or crack when they dry out, but there are a few exceptions.
Generally, all stones that are opaque or dark are safe to be cleansed in the sun.
So, before you put your crystal collection out in the sun, make sure you know which ones you can put in sunlight and which ones need to be kept in the shade. With a little bit of care, you can keep your crystals healthy and vibrant for years to come.

3. Crystal Cleansing With Earth
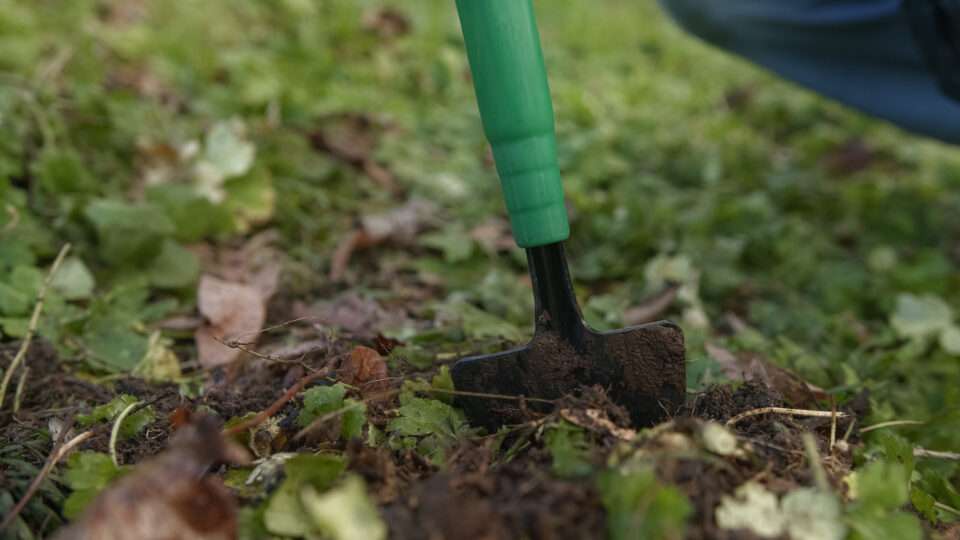
Burying crystals in the earth is a popular cleansing method for many people, as this is said to be a way of connecting with nature and recharging the energy of the crystal. This method works by burying your crystal in soil or sand for up to 24 hours. When buried, the earth can then purify them and release any negative energies that the crystal may be holding. In addition, crystals that are cleansed with this method are said to emit grounding energies that can be beneficial for those who are feeling scattered or ungrounded. If you’re looking for a way to cleanse your crystals and promote feelings of stability, consider burying them in the earth.
It is vital to make sure that your crystals are buried in an area where they will not be disturbed, as this can disrupt the cleansing process.
Note:
Most people are familiar with the idea of burying crystals in the ground, but what many don’t realize is that there are crystals that should never be buried. Generally, all stones that are not recommended to be cleansed with water shouldn’t be buried because of the water that resides in the earth.
The water in the soil can corrode stones and as a result, diminish their healing properties. Especially soft or porous crystals such as Selenite, Calcite, Talc, or Turquoise will take damage over time and should never be buried.
So, if you’re looking to cleanse your crystals with this method, it’s important to know which ones can go into the earth and which ones can’t. Do your own research before using this method on any of your crystals. If you’re still unsure about whether or not a crystal can be buried, it’s always best to err on the side of caution and use another cleansing method.
4. Crystal Cleansing With Salt
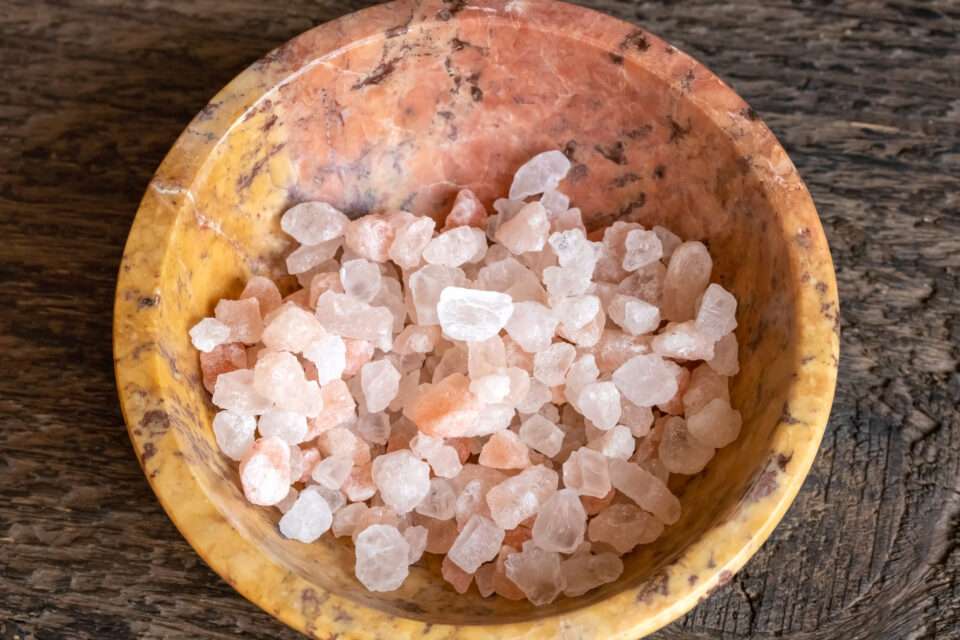
Salt is an incredibly powerful purifying agent that has been used for millennia to clear out negative energy and restore balance. When cleansing crystals with this method, it’s best to use natural sea salt or Himalayan salt, but any other salt will do it, too.
Cleansing With Salt Using Direct Method
For this method, simply place your crystal in a bowl of pure sea salt or Himalayan salt for at least a few hours or up to 12 or more hours. After this time, rinse the crystal off with water and dry it with a towel. If you have a crystal that can’t get wet, you can just brush off the salt from the crystal using a soft cloth. Dispose of the salt afterward, as it will be saturated with negative energy.
Cleansing With Salt Using Indirect Method
The non-contact salt method doesn’t require any contact between the crystal and the salt. To do this, you’ll need a large glass bowl and a smaller glass container. Fill the large glass bowl halfway full with salt and bury the smaller bowl in it. Then, place your crystals directly into the smaller bowl. This method usually takes longer than the direct contact methods, but the salt will still be able to draw out unwanted energies.
As with the direct method above you need to dispose of the salt after you cleansed your crystals.
This method is perfect for crystals that can’t go in water or salt.
Cleansing With Saltwater
For this cleansing method, again, it’s better to use distilled or spring water, as tap water can contain chemicals that may damage the crystal. Fill a glass or ceramic bowl with water, then add salt to the water and stir until the salt has dissolved. Then, place your crystals in the solution and allow them to soak for at least a few hours. Many people let their crystals in the salt water for 12 hours or longer. After this, remove the crystals from the solution and rinse them off with clean water to remove any residual salt and dry them with a towel. Cleansing with salt is a simple but effective way to purify your crystals and keep them energetically charged.
Note:
When it comes to crystal cleansing, there are a few general rules to follow. There are some crystals that shouldn’t have contact with salt, as it can damage them. Crystals that are soft, porous, or have a considerable amount of water or iron shouldn’t be cleansed with salt. This can cause stones with a high water content to break or become brittle.
In addition, saltwater can cause metals to rust faster by speeding up the oxidation process. For this reason, it’s important to be careful when using salt with delicate crystals. If you’re unsure whether a particular crystal can be cleansed with salt, do your own research.
I recommend using only polished stones when cleansing with salt, since salt can enter cracks in raw crystals and build up over time, eventually causing them to break.
5. Crystal Cleansing With Moonlight
For millennia, the moon has been revered for its mystical powers. Many cultures believe that the moon is a powerful symbol of feminine energy and that it has the ability to cleanse and charge. When the moon is full, it is said to be able to purify both body and soul. These powers are what makes the moon such an important crystal-cleansing tool.
For this method, you simply put your crystals in moonlight. The light of the moon has a cleansing and rejuvenating effect on crystals, which removes any negative energy they may have accumulated. You can set your stones on the windowsill at home or find a nice place outdoors. You can always use moonlight to renew the energy of your stones if you feel they need a little cleansing. However, the light of the full moon is even more potent and there is a four to five-day window each month when the moonlight is at its strongest. Even if the moon is behind clouds, its energy will still find its way to crystals.
All types of crystals can be cleansed and charged in the moonlight. With a little care and attention, you can keep your crystals in top condition and harness their full power.
Note:
Before you set your crystals outside, double-check that it isn’t going to rain or snow because some crystals shouldn’t get wet.

6. Crystal Cleansing With Brown Rice
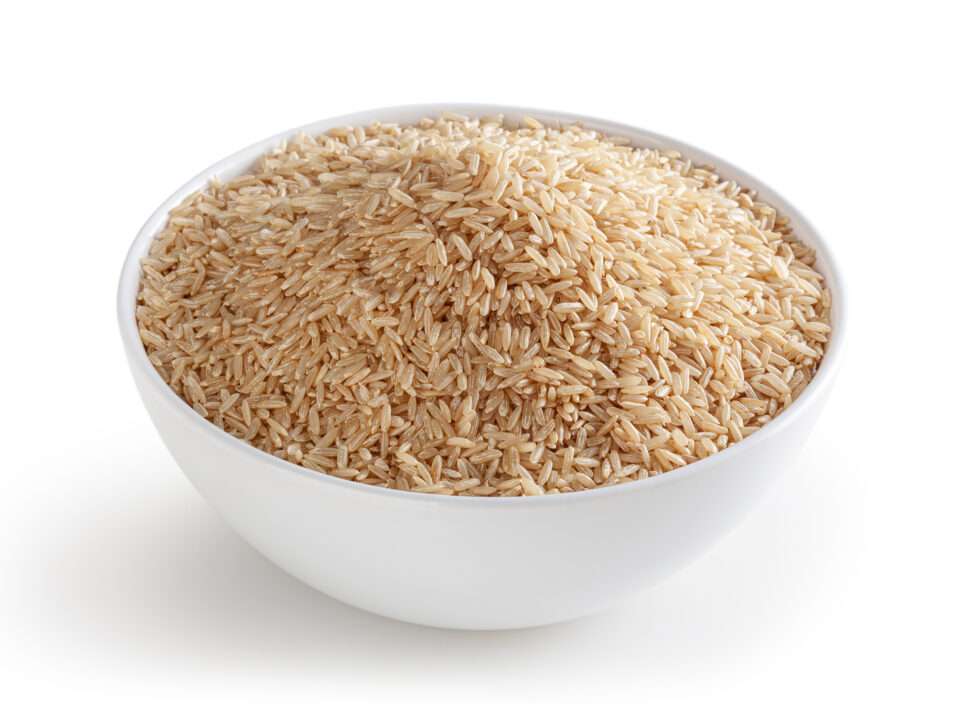
Brown rice is a versatile grain that can be used in many different dishes. It can also be used as a tool for crystal cleansing. Simply bury your stone in a bowl of rice and let it do its work. Every crystal is safe to put in a bowl of rice, and the rice will absorb all the negative energy from the crystals. The amount of time that the crystals should be left in the rice depends on how much negative energy they have accumulated. You can let them in the rice for as long as you feel is necessary, or if your intuition is not developed yet, just leave them for 24 hours in the rice to be certain that all negativity will be absorbed after that time. There is no harm in it if you leave your stones in the rice for longer than one day. Just make sure to dispose of the rice afterward, as it will have absorbed the negative energy of the crystals.
7. Crystal Cleansing With Smoke
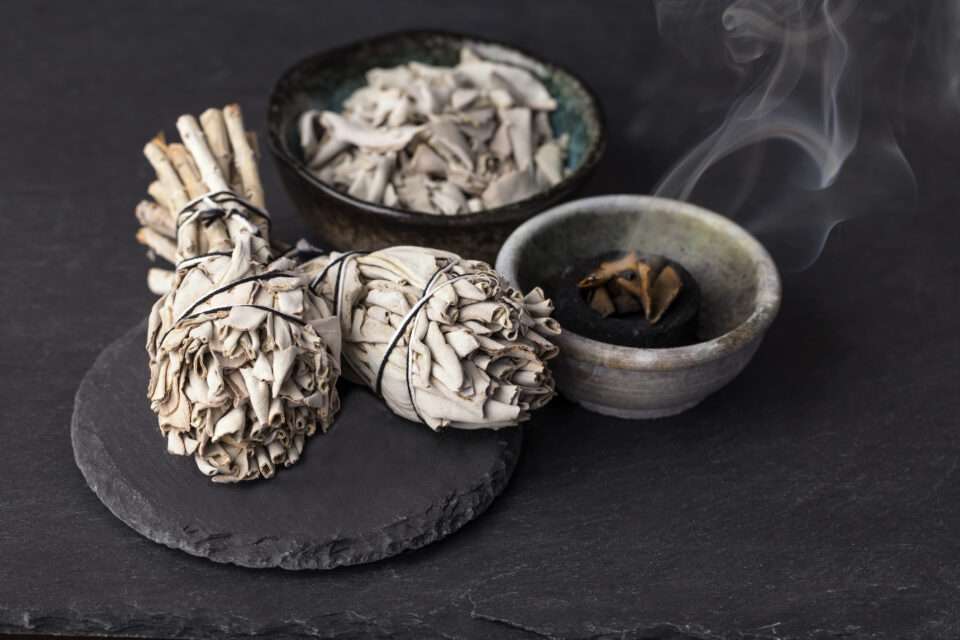
Cleansing crystals using smoke is an effective way to remove negative energy. For this, you can smudge, burn incense or resins.
Smudging has several health benefits. In addition to cleansing the air, it can also help to reduce stress and anxiety, boost your mood and concentration, and improve sleep quality. It can even help to fight off colds. Smudging is not complicated, but before you start there are a few things you need to do to ensure that the smudging is done properly. You will need a candle, preferably one that is made of beeswax, a feather (optional), a fireproof bowl or shell to catch any embers from the smudge bundle, matches, and a quiet environment. Make sure that you will not be disturbed during the cleansing ritual. Open the windows so that the smoke can carry out the negative energy once you start smudging. Now, you’ll need to light a candle. Hold your smudge stick above the flame and allow it to catch fire. Don’t blow to put out the fire on the smudge stick but wait for the fire to go out on its own. Once the fire has gone out, you’re ready to begin. You may want to ask angels to assist you in this cleansing ritual before starting.
To purify your crystals, simply hold them above the smoke or wave the smoke at them with your hand or a feather. Cleanse each crystal for one minute or more if you feel that it has absorbed much negative energy. As you do this, visualize the smoke cleansing away any negative energy in the space. After you feel that you are done, extinguish the smudge stick in a bowl of sand or salt. Thank the spirits for their help and blow out the candle. Your smudging ceremony is now complete.
One of the most popular herbs used for smudging are white sage, cedar, rosemary, sweetgrass, lavender, and mugwort.
There are also resins like frankincense, copal, benzoin, myrrh, amber, and many more that have purifying effects. Incense sticks and cones are also a great way to cleanse your room and your crystals. For resin and incense in raw form, you have to use an incense burner or a charcoal disk. Same as with smudging, hold your crystals in the smoke or wave the smoke at them while visualizing the negative energy leaving them.
These methods are especially handy for large or delicate stones that might not do well with water or heat.
Note:
When cleansing crystals with smoke make sure to always have an open window so that the smoke can escape. Whether you smudge, burn incense or resin, always use a fireproof bowl or a shell since embers might fall down and burn something.
8. Crystal Cleansing With Fire
When cleansing crystals with fire, it is important to visualize how the flame purifies the crystals and removes any negative energy. It’s best to use a candle for this method, but a lighter will do it, too.
Now, pass the stone through the flame and visualize how the flame purifies it of negative energies. By cleansing your crystals with fire, you are not only removing any negativity that may be holding them back, but you are also empowering them to help you achieve your goals. Do this until you feel the crystal has been cleansed or at least for 30 seconds.
When cleansing crystals with fire, it is important to take into account the speed at which you pass the crystal through the flame. If a crystal is passed too slowly through the flame, it can overheat and suffer damage.
Most crystals should be fine when passed through the fire, but do your own research before using this method.
9. Crystal Cleansing With Reiki
Before you can cleanse crystals with Reiki, you need to receive an attunement from a certified Reiki master. This attunement will open your chakras and allow you to channel the universal life force energy. There are three or four degrees of attunement, depending on the school or teacher. Once you have been attuned, you can begin cleansing yourself and your crystals. To do this, simply hold the crystal in your hand and focus your intention on the cleansing and charging of your crystal. You may also want to visualize the crystal being surrounded by white light. Continue for a few minutes or until you feel that the crystal has been fully cleansed.

10. Crystal Cleansing With Essential Oil
Essential oils are highly concentrated plant extracts that contain potent therapeutic compounds. They can remove negative energy from crystals, as well as purify and clear them. In addition to cleansing crystals with essential oils, they can also help to heal and balance the body on a physical and emotional level. When cleansing crystals with essential oils, it is important to use a pure oil that is free from synthetic fragrances and chemicals.
There are many different essential oils that can be used for cleansing crystals. The most popular essential oils for this purpose include lavender, eucalyptus, frankincense, rosemary, and sandalwood. Each of these oils has its unique therapeutic compounds and purifying effects which make them ideal for crystal cleansing. Just add a few drops of your favorite oil to the diffuser and hold your crystal in the mist while visualizing the negative energy leaving the crystal.
Note:
For those new to essential oils, it is important to only use a few drops of oil in the beginning and don’t let the diffuser run for too long. Otherwise, the nervous system can become overwhelmed.
It is also important to be aware of any potential allergic reactions you may have.

11. Cleansing Crystals With Other Crystals
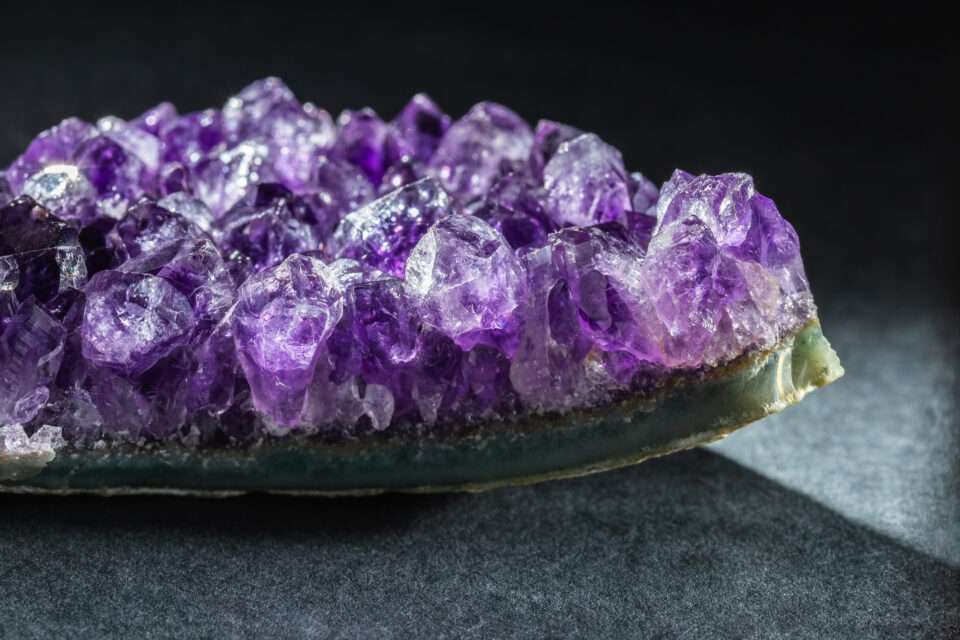
One of the easiest ways to cleanse and recharge crystals is to use other crystals. Selenite, Amethyst, and Clear Quartz are all powerful stones that can help to cleanse and charge other crystals. Simply leave the crystals you wish to cleanse in a bowl or basket with one of these stones for at least a few hours. If you forget to take out your crystals after a few hours, that is okay. They will continue to be cleansed and charged until you remove them.
This method of crystal cleansing is especially handy because it can be done for all crystals, regardless of size or type. There is no need to worry about damaging delicate or brittle stones as it is a gentle form of cleansing.
12. Crystal Cleansing With Sound
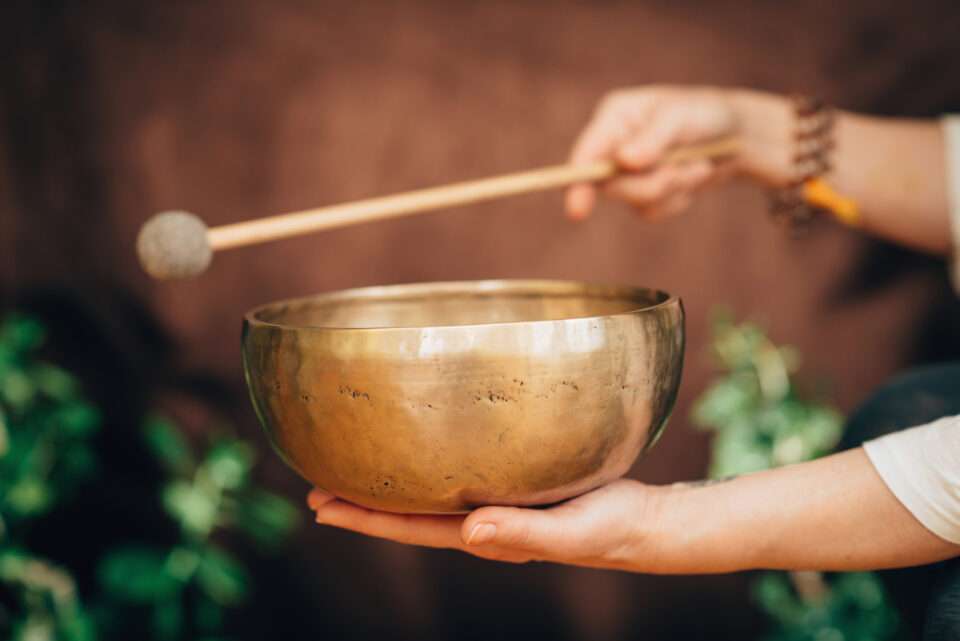
Most people are familiar with the idea of using sound to heal the body and mind, but did you know that sound can be used to cleanse crystals? There are many different ways to do this, but some of the most popular include singing bowls, crystal bowls, and tuning forks.
Cleansing With Singing Bowls and Tuning forks
To cleanse your crystals, simply place them in a bowl and play the singing bowl or crystal bowl nearby. The sounds and vibrations will penetrate the crystals, clearing away any unwanted energies and restoring them to their natural state.
You can also use tuning forks to cleanse crystals. The vibrations from the tuning fork will travel through the crystal, releasing any trapped negative energy and restoring it.
Cleansing With Music
Some people also believe that playing music can help to cleanse crystals, but it is important to be aware that most music is pitched to A 440hz, which is scientifically proven to create dissonance and negatively affect the mind and body. So if you want to play music to cleanse your crystals, make sure that it is tuned to 432hz. This frequency is in tune with the universe and therefore has a harmonious effect on you and your crystals. You can also play any solfeggio frequency or Gregorian chant that you like. Play the chosen music for approximately 10-15 minutes, and your crystals should be cleansed and charged.
The sound cleansing method is particularly effective for cleansing delicate or brittle crystals which are not suitable for some of the other methods. If you have a large crystal collection and don’t want to spend too much time cleansing them individually, this is a great way to cleanse them as a group.
13. Crystal Cleansing With Visualization
If you don’t want to use the other methods or don’t have the necessary tools, you can also use visualization to cleanse your crystals. This method requires concentration and an open mind. I wouldn’t recommend this technique as a standalone method for beginners. But if you can visualize and feel energy you shouldn’t have any problems.
To begin cleansing and charging with visualization, sit in a comfortable position and hold the crystal in your hand. Close your eyes and take some deep breaths. Visualize a bright white light emanating from your heart and surrounding the crystal. Imagine this light entering the crystal, filling it with energy, and purifying it. See the crystal becoming brighter as it is cleansed and charged. When you are finished, open your eyes and give thanks for the cleansing of your crystal.
This can be done anywhere, but it may take some practice to feel how the crystal is being cleansed, but once you get the hang of it, this method can be used anywhere, anytime.
14. Crystal Cleansing With Breath
The act of cleansing and charging crystals with your breath is similar to the visualization method, except that you add your breath to the visualization. When you blow on your crystal, visualize how it is simultaneously cleansed of any accumulated negative energy and recharged with fresh invigorating energy. This is a simple yet powerful way to cleanse and recharge your crystals, and it can be done anywhere you want. Just hold your crystal in your hand, take a deep breath, and blow on it while visualizing the negative energy being washed away and the fresh energy being infused into the crystal.
The key is to focus on your intention and be as specific as possible. See the negative energy being removed and replaced with positive energy. You may also want to add an affirmation to further amplify your intention. For example, you might say, “I release all negative energy from this crystal. I infuse this crystal with fresh, invigorating energy.” Repeat this several times as you blow on the crystal. Breathe deeply and let go of any negative thoughts or feelings you may be holding onto.
Final Thoughts
Cleansing crystals can be an easy and effective way to restore your crystal’s energy. There are many different methods of cleansing, such as smudging, sound, visualization, and breath. All of these methods can be used individually or in combination with each other to achieve the desired result. Regardless of which method you choose, make sure to give thanks for your crystal’s cleansing and enjoy its newfound energy.
